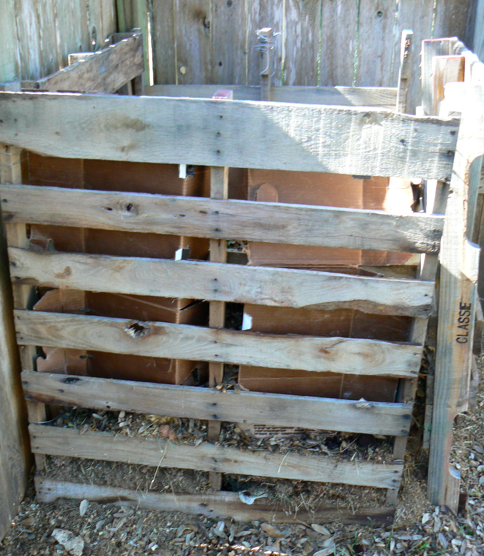
Check out this link to see how to make a compost bin out of pallets. Pallets can usually be acquired for free and make a great bin for breaking down your organic matter before feeding your worms or your plants.
Check out this link to see how to make a compost bin out of pallets. Pallets can usually be acquired for free and make a great bin for breaking down your organic matter before feeding your worms or your plants.
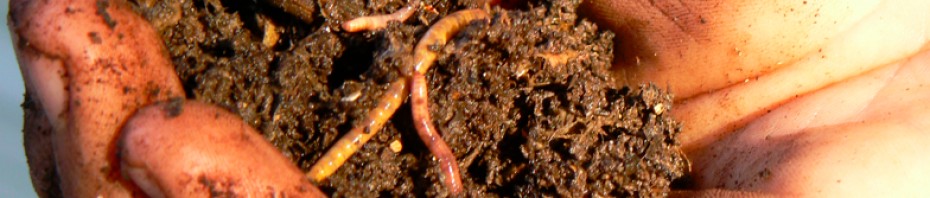
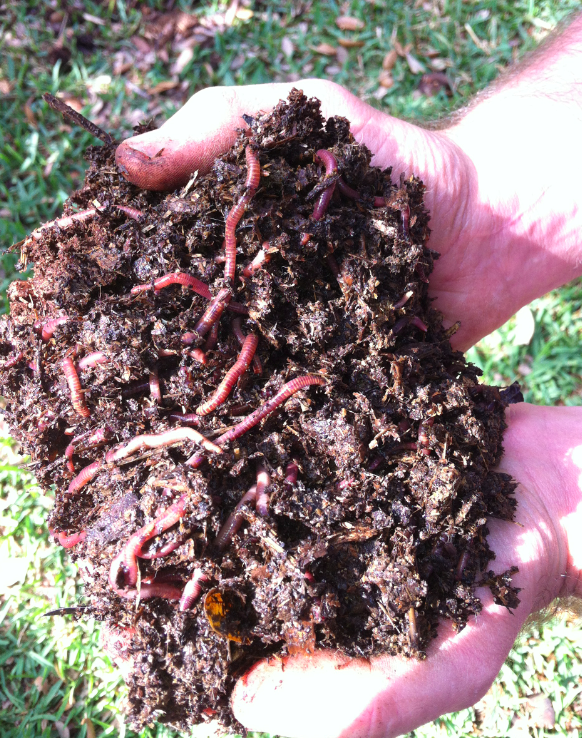
I am looking to have a storage building built on my property and called a local builder that I came across at http://www.bbarns.com. After talking a few minutes, we realized we had met earlier. Turns out a year or more ago, Robert got a pound of European Nightcrawlers from me. In addition to talking storage building construction, Robert talked all about how well his worm bed was doing and sent me this great pic. Not only does he have a great looking worm bed, but his vegetable garden is the envy of the neighborhood. Thanks for sharing, Robert.
(Insert your favorite state- Alabama, Texas, Carolina, Georgia) Jumpers are great for mixing and aerating garden soil. The only commercially available earthworm that is suited for introducing directly to the soil. Some soil types and raised beds with an abundance of organic matter can potentially support red worms and European NightCrawlers, but if you are dealing with sand, clay, or packed ground Jumpers are the only option. With that said, I still recommend raised beds or pit method to get your herd started rather than just cutting them loose. If you want to populate your yard or garden start with a sweet spot, and introduce them a handful or two at a time to other parts of your space.
Jumpers can also be raised in bins just like other species, and I have had a lot of success with this method. Jumpers tolerate the Summer temps better than red worms but don’t handle sub 40F as well. Keep in mind all earthworms are composters, will surface to feed and breed. While earthworms share these characteristics, what makes them differ is their ability and need to tunnel, the range at which they operate, and temperature tolerance.

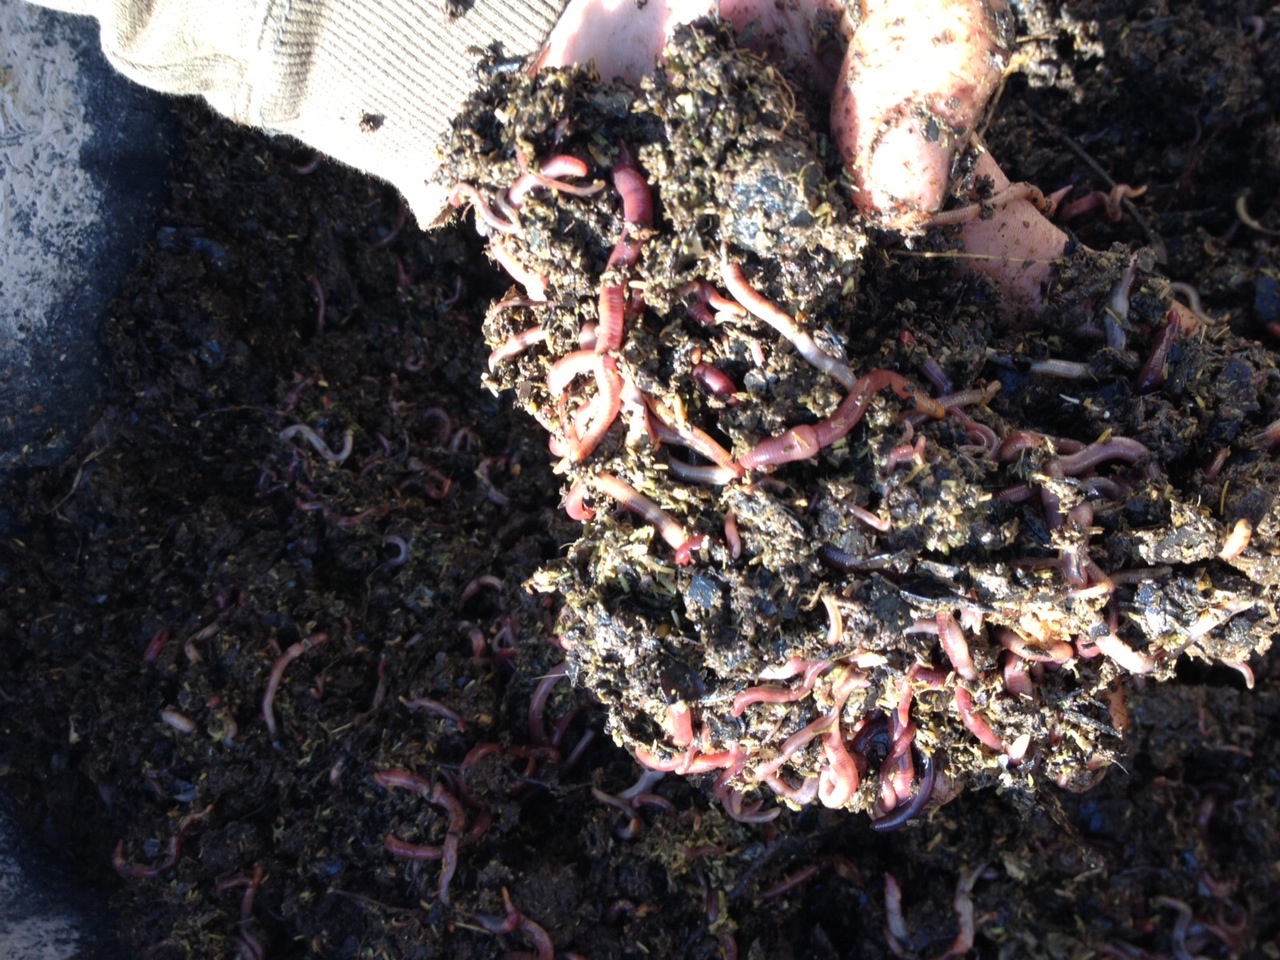
I have included a couple of pictures of one of our Jumper Starter Farms. This is designed to ship and gives you a healthy way to start and takes the guess work out of starting from scratch. We take a sample of our beds (bedding and a few hundred worms of different sizes) to give you a solid start and something you can replicate as your population grows. When you see small worms and larger ones it’s a good indicator that you have a healthy happy environment that your worms are reproducing in. Depending on your needs and what you are trying to do, you will want to experiment and introduce worms in your soil to see which methods work best for you. I would encourage you to focus on one spot and expand a handful or two of worms and bedding at a time when you see your worms growing and reproducing from there.

TexasRedWorms will be in Boerne, TX this Saturday the 19th at 33 Herff Road, Boerne, TX. We will be there to talk about composting with worms, setting up, and other how to information.
We’ll be there from 10am-11am Saturday morning.
Solaris Ag Base from Houston, TX is producing worm castings from juice bars all over the Houston area. Anson Woods and his team are expanding their operation into a warehouse facility. Worm castings (black gold) the perfect fertilizer produced from nutrient dense juice pulp and coffee grounds by Anson’s worms. Instead of filling up dumpsters, this waste is being used to produce soil enriching and life giving worm castings packed with pH neutral and beneficial micro-organisms.
Congrats to Anson and Solaris Ag Base on their continued success, and thank you for choosing Texas Red Worms as your composting worm supplier.
Take a look at this pic from Anson’s original worm farm. What a gorgeous set up!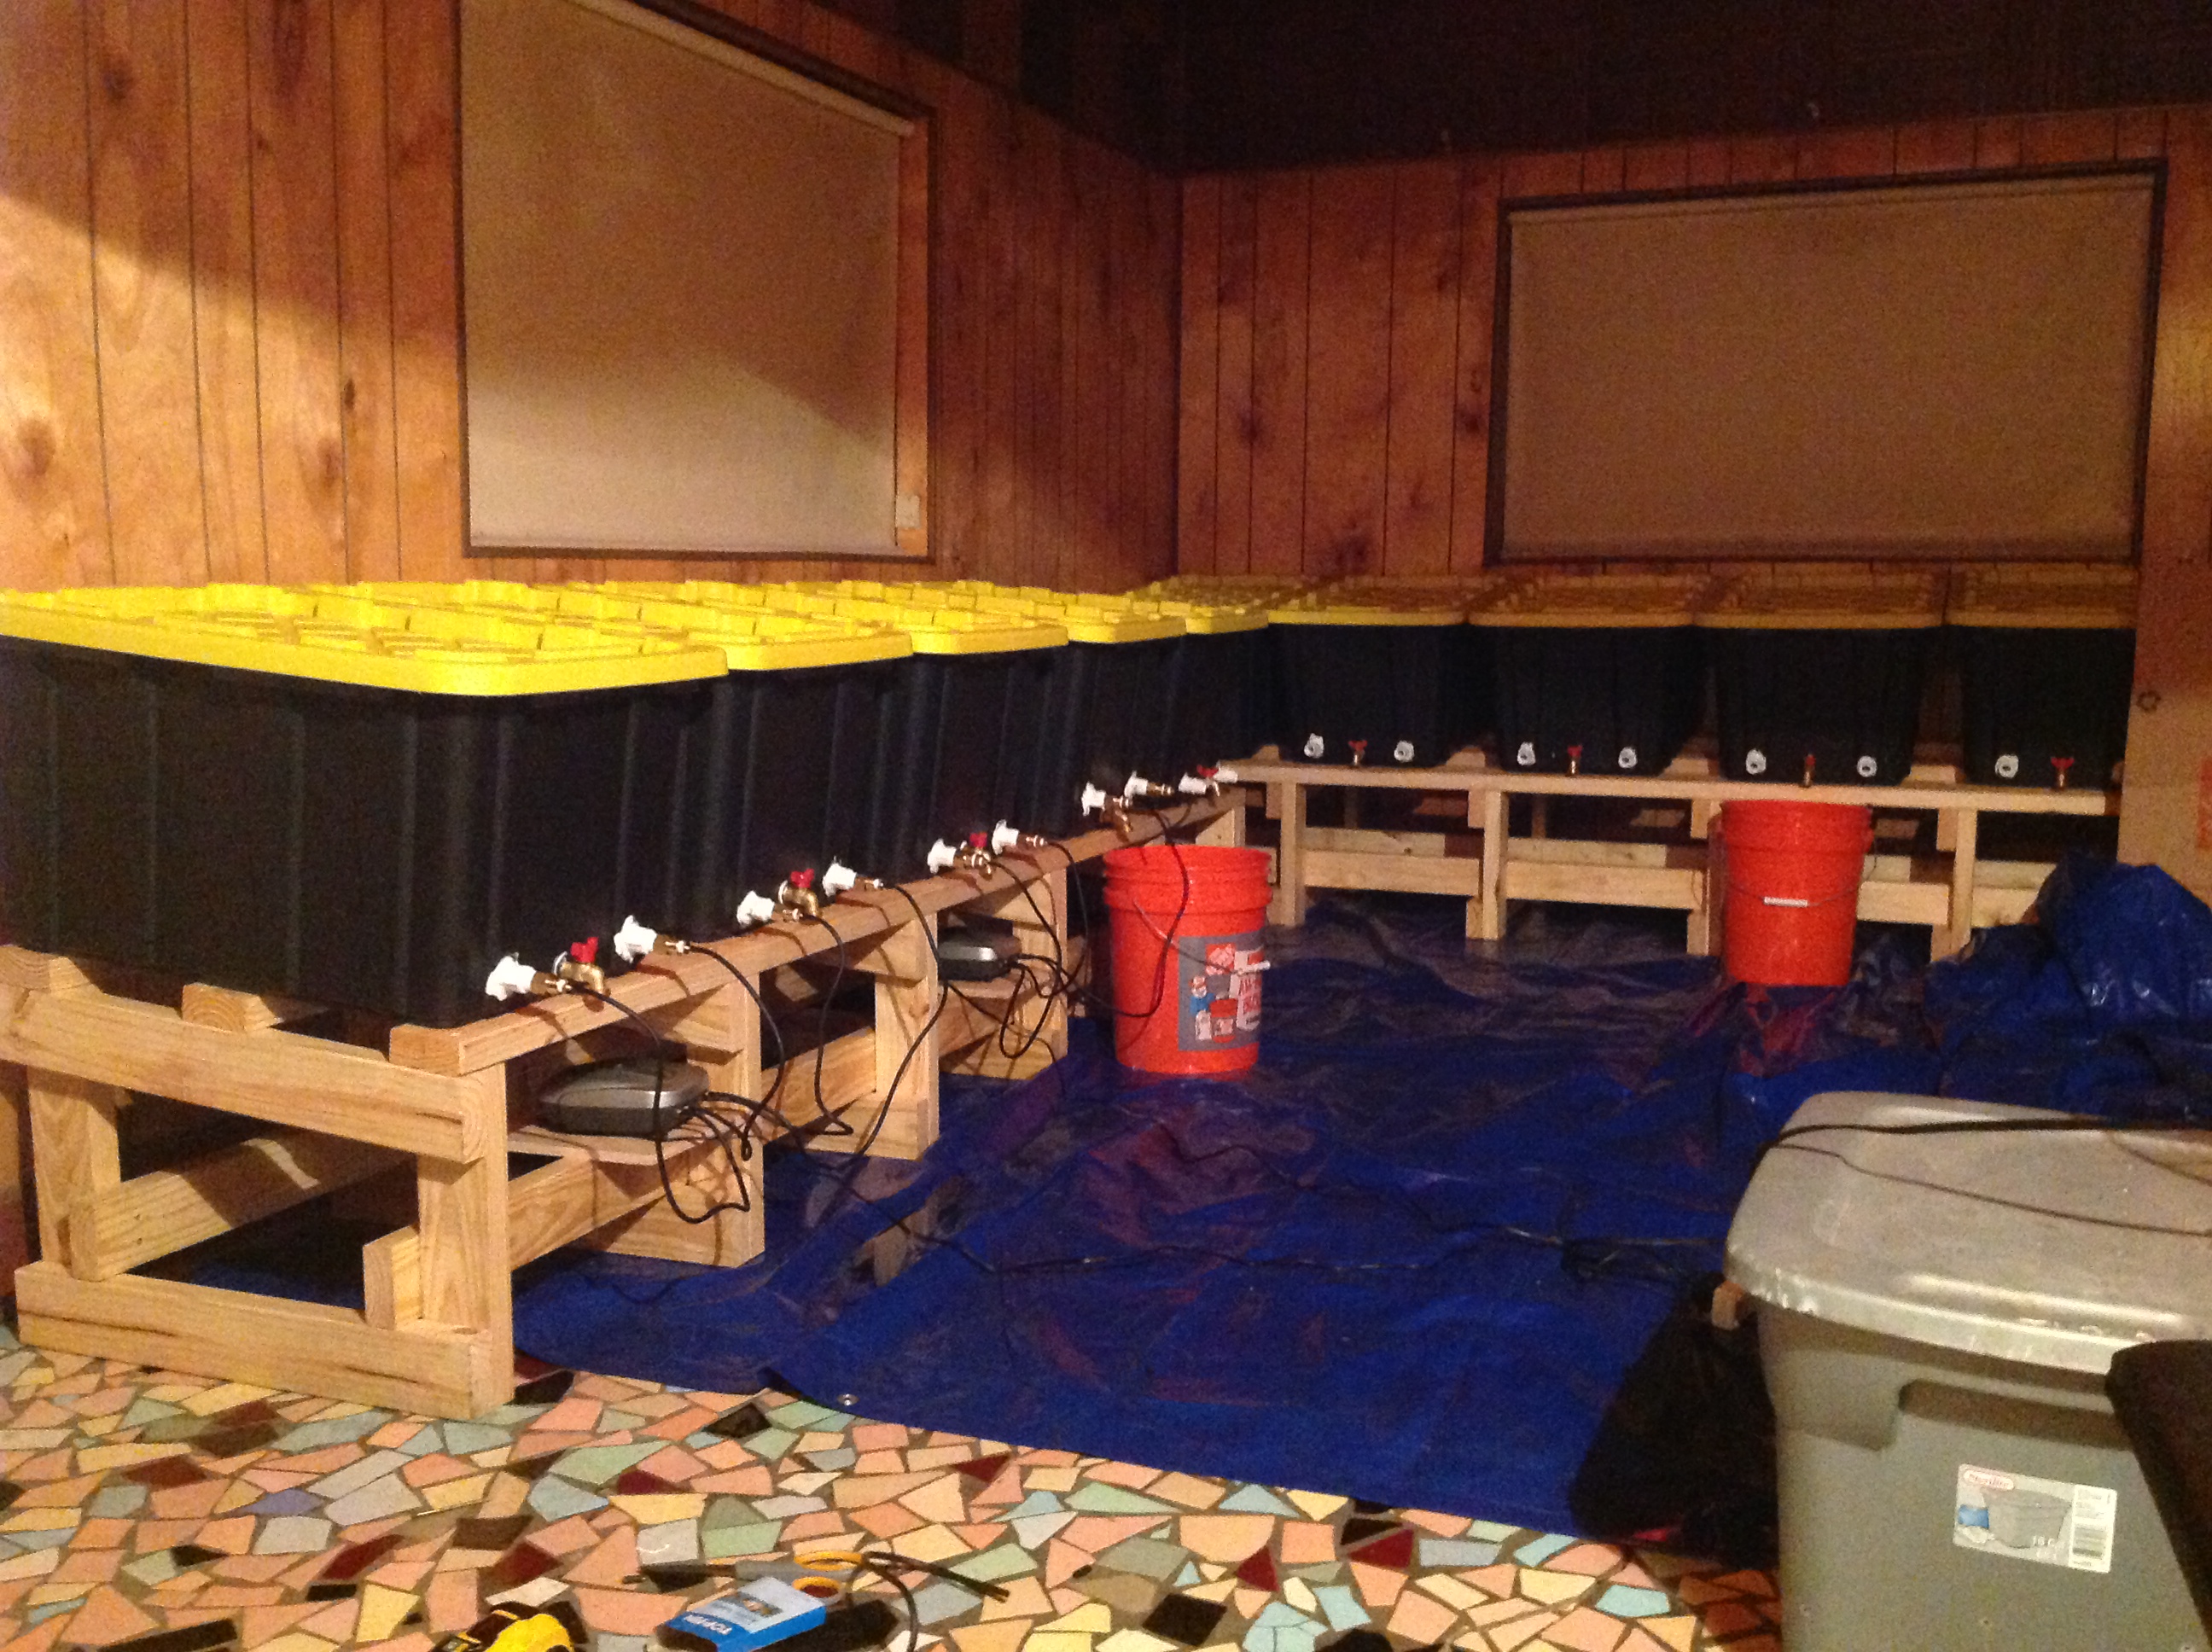
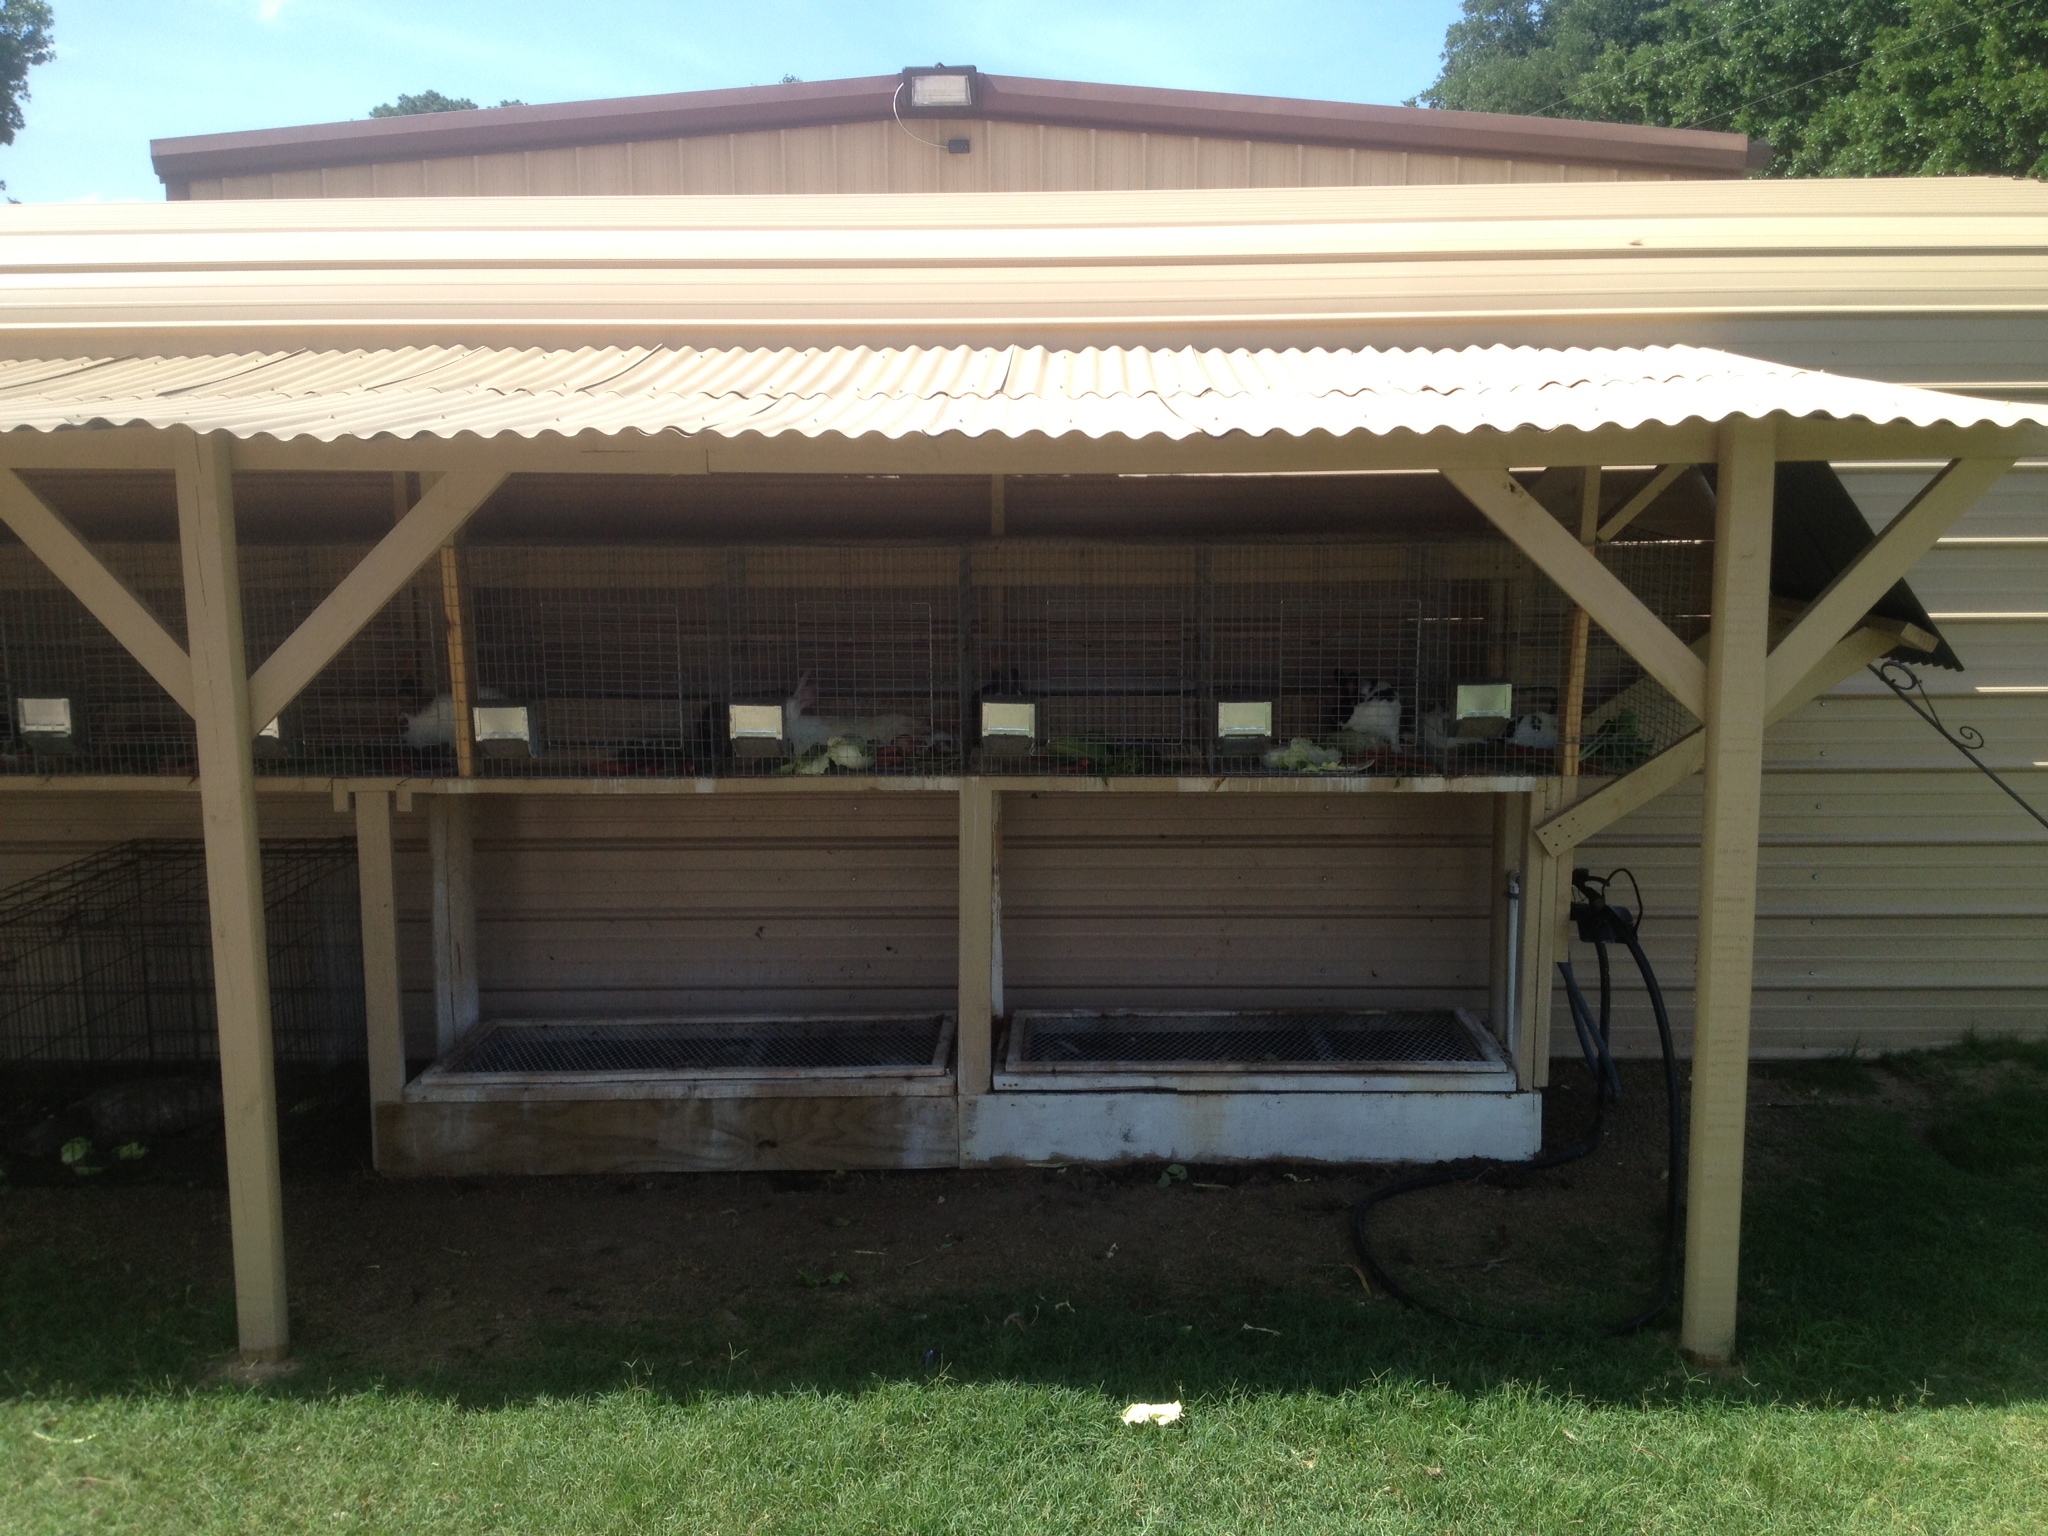
Thanks to Michael in Cypress, TX for sharing the pictures of his rabbit hutch and worm bed design. Great work and thanks for sending.


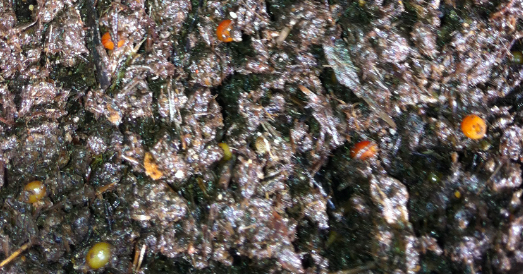
Red Mites killing a red worm

Red mites on watermelon rind.
I’ve encountered these red devils before but not at this level. Unlike most visitors in your worm bin, these guys are parasites to worms. (see top picture). Red mites flourish and can become a problem in a bin that is too moist, has too much food, or too acidic. Don’t panic if you have a few mites, but a bin that is has been neglected and unkept in these conditions can pose a problem. My outbreak was caused by overfeeding before we headed out for our July 4th vacation, and was left to fester for more than a week. Getting rid of a red mite infestation can be a challenge.
I’ve tried several methods and have shown below a little experiment I began today. I scraped the top of some red mite infected bins and partially filled some small shoebox containers. From Left to Right in pic below 1. control 2. diatomaceous earth 3. watermelon rind 4. agricultural lime.
1. The control bin will be left open and scraped from time to time to see how long it takes to get rid of the red mites.
2. Diatomaceous Earth has been applied to top of #2. DE needs to be kept dry in order for it to stick to bugs and make tiny cuts that will dry them out and kill them off.
3. Watermelon rind placed on top to attract red mites and discard. I will replace with a new one and repeat and see how this does.
4. Ag Lime dusted on top. Ag lime is alkaline and will hopefully bring the acidic bedding closer to neutral. The high alkalinity concentrated on the top should burn up the red mites and not harm the worms.

4 methods for getting rid of red mites
These methods have been used before and should all work. I just kind of wanted to see them head to head. We’ll see how this turns out. The good news is most of the red mites have been dismissed without harming too many of my bins and worms. Additionally, I learned a valuable lesson about overfeeding, and next time I’ll use more composted manure and less of my worm chow mix. My mistakes were 1. overfeeding 2. too wet 3. too much peat moss and too little composted manure (which made my bedding a little acidic) 4. My infected bins were unattended for a week. Had I caught them sooner it wouldn’t have been much of an issue.
Vermiculture/Worm Composting Presentation is scheduled from 3-4PM on Wed 12 June 2013 at the San Antonio Botanical Garden (Education Bldg or Auld House depending on room availability-TBD)
Kyle Harrell from TexasRedWorms.com will be presenting from 3-4PM focusing on setting up a simple worm bin, along with the benefits/challenges of vermicomposting in Texas.
Today Tuesday, April 16th, from 6-8pm at the Alamo Heights Community Garden Texas Red Worms will be with Green Spaces Alliance at 403 Ogden St. Join us for instruction and discussion on worms, composting, and compost tea.

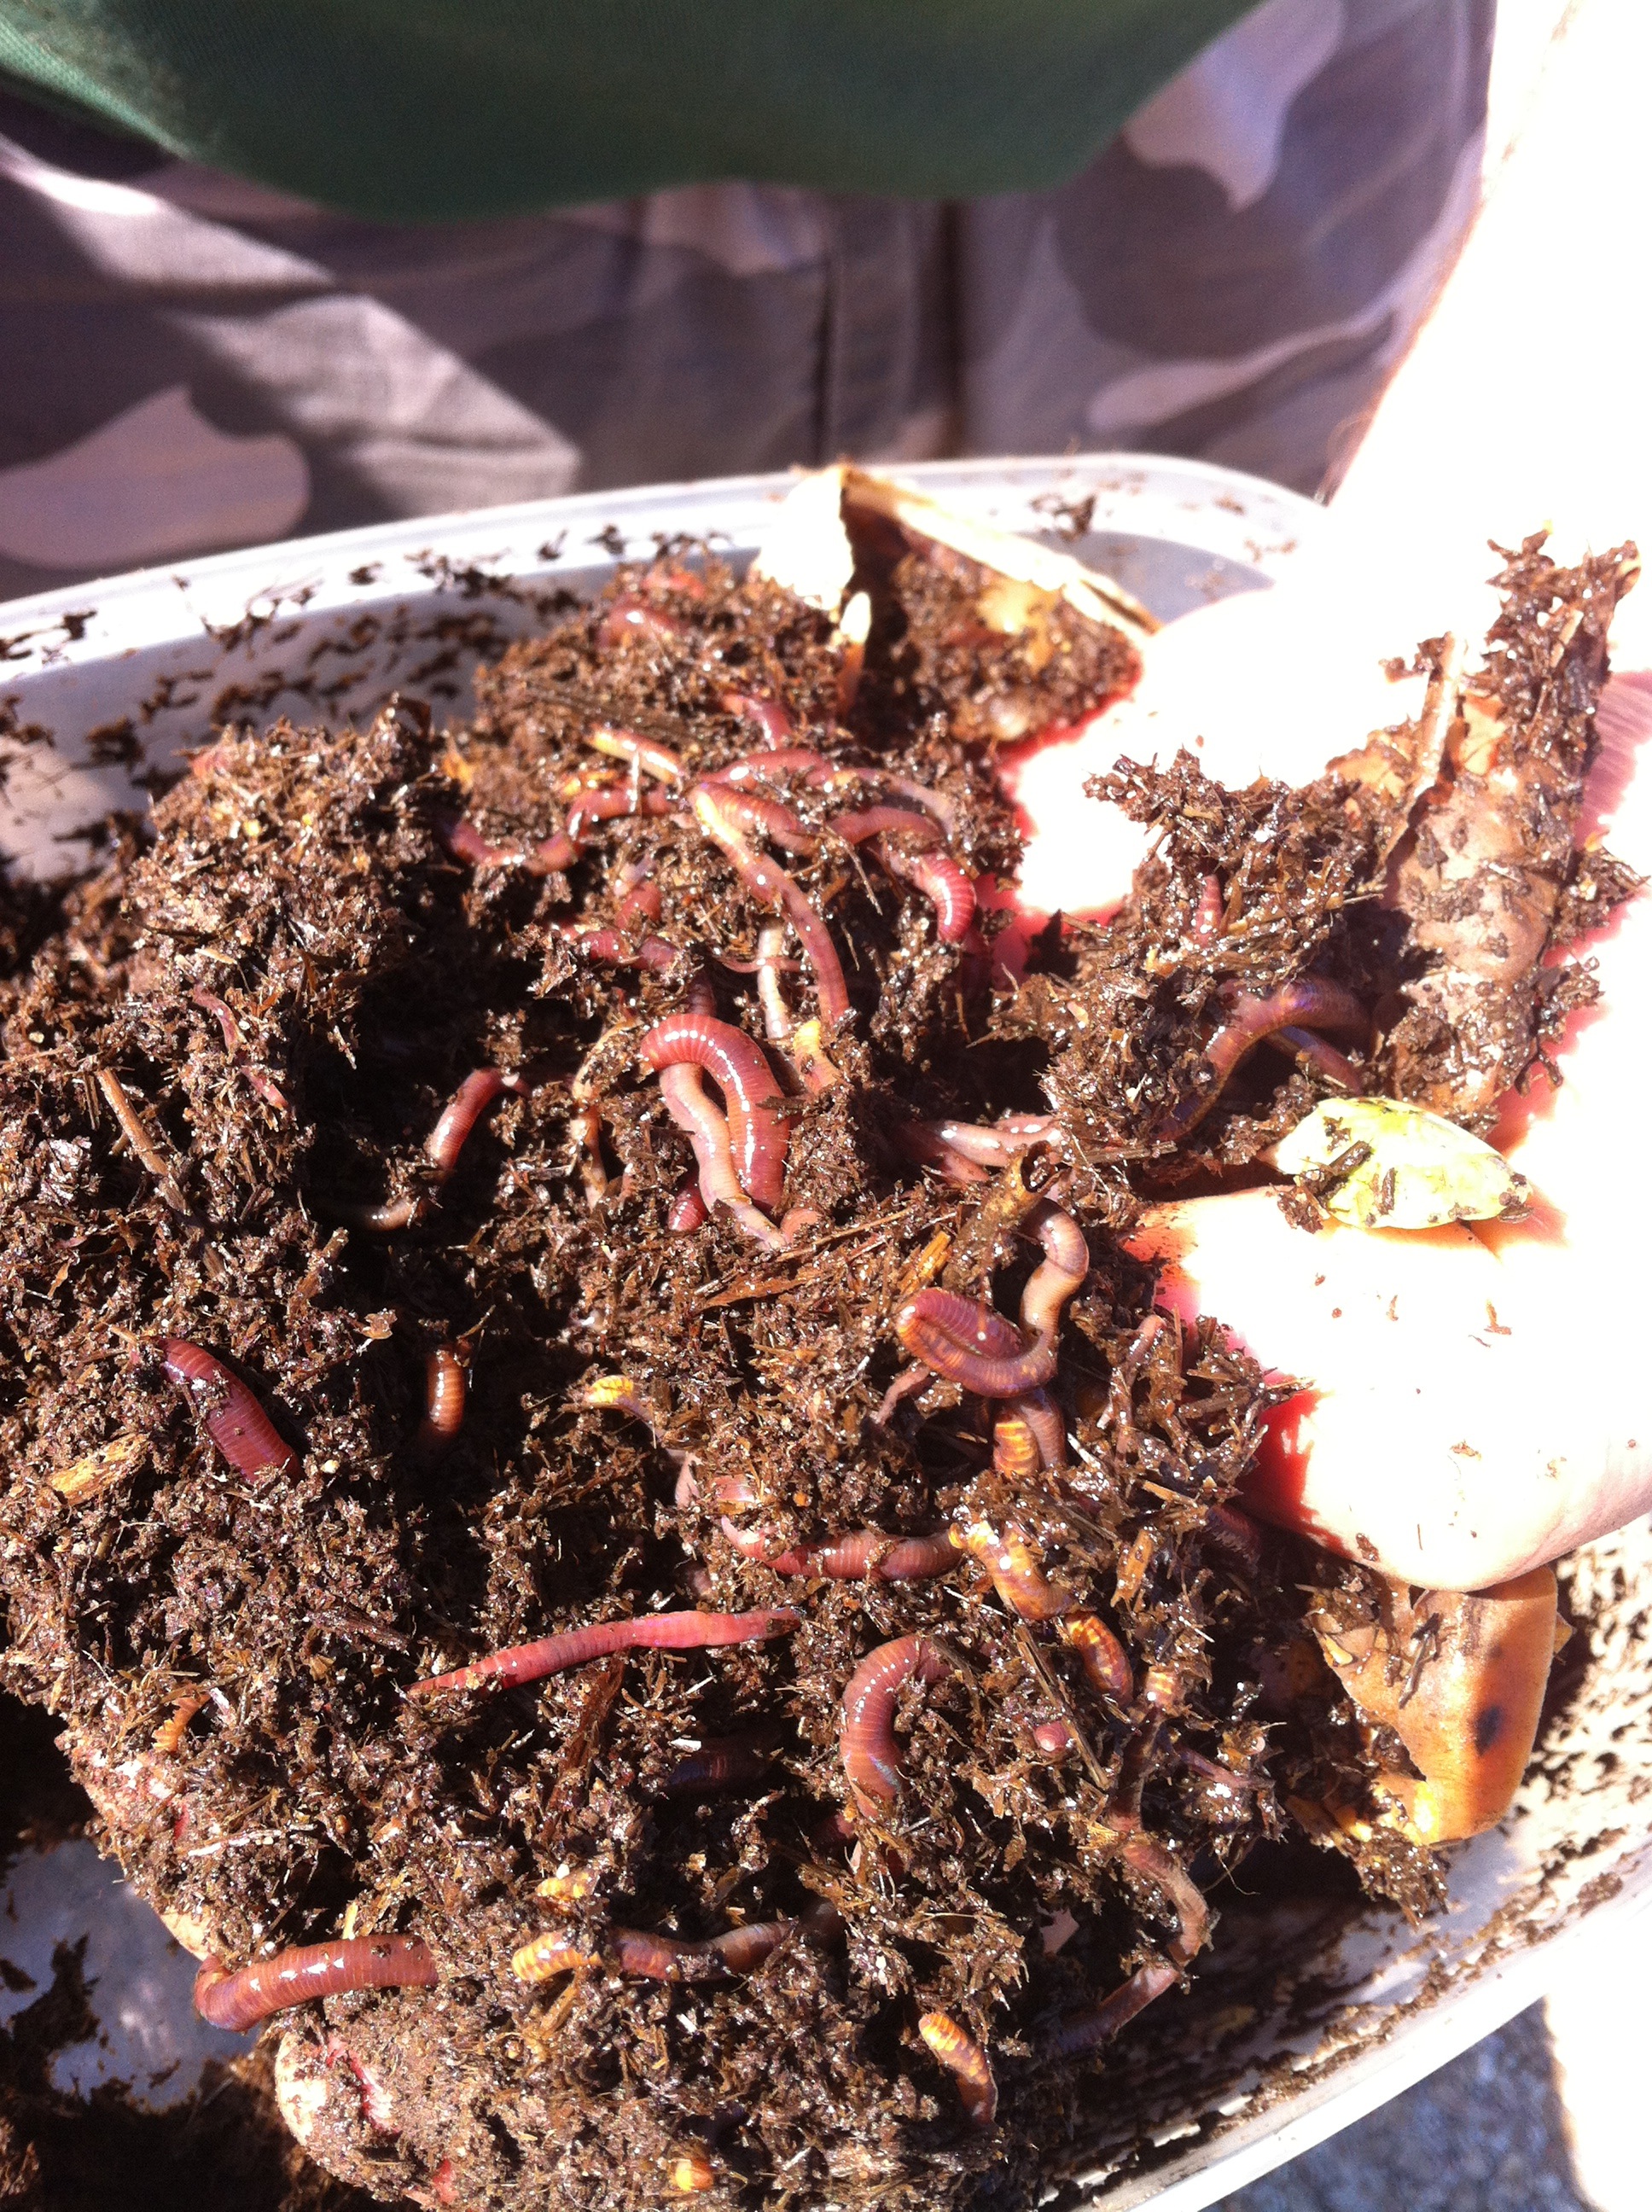
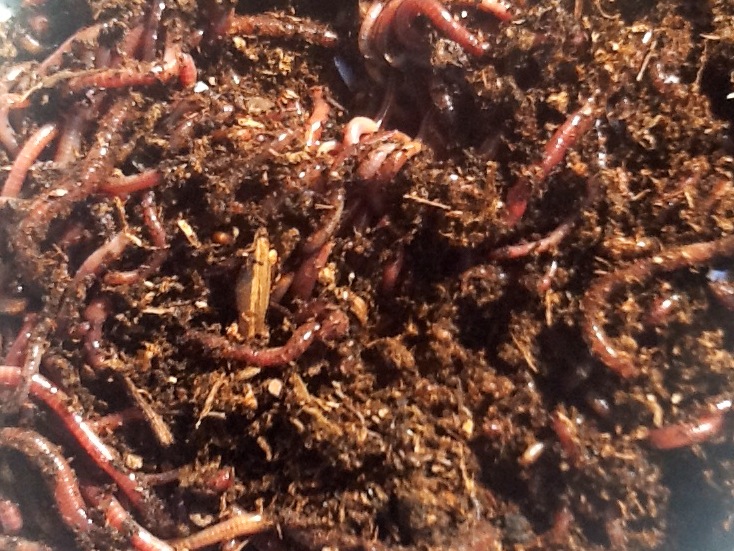
Spring is here and the worms are hungry. Cocoons, and baby worms are appearing by the minute. Here are a couple of pics from this week’s castings harvest.